Register Application on Facebook for Developers
Before getting your Access Token you need to "create an app" on Facebook for Developers.
Log into Facebook
Go to Facebook Developers Account and Facebook for Developers is an independent service. You can use your existing or you can register a new account which you will confirm using the verification code Facebook will send to your mobile phone.
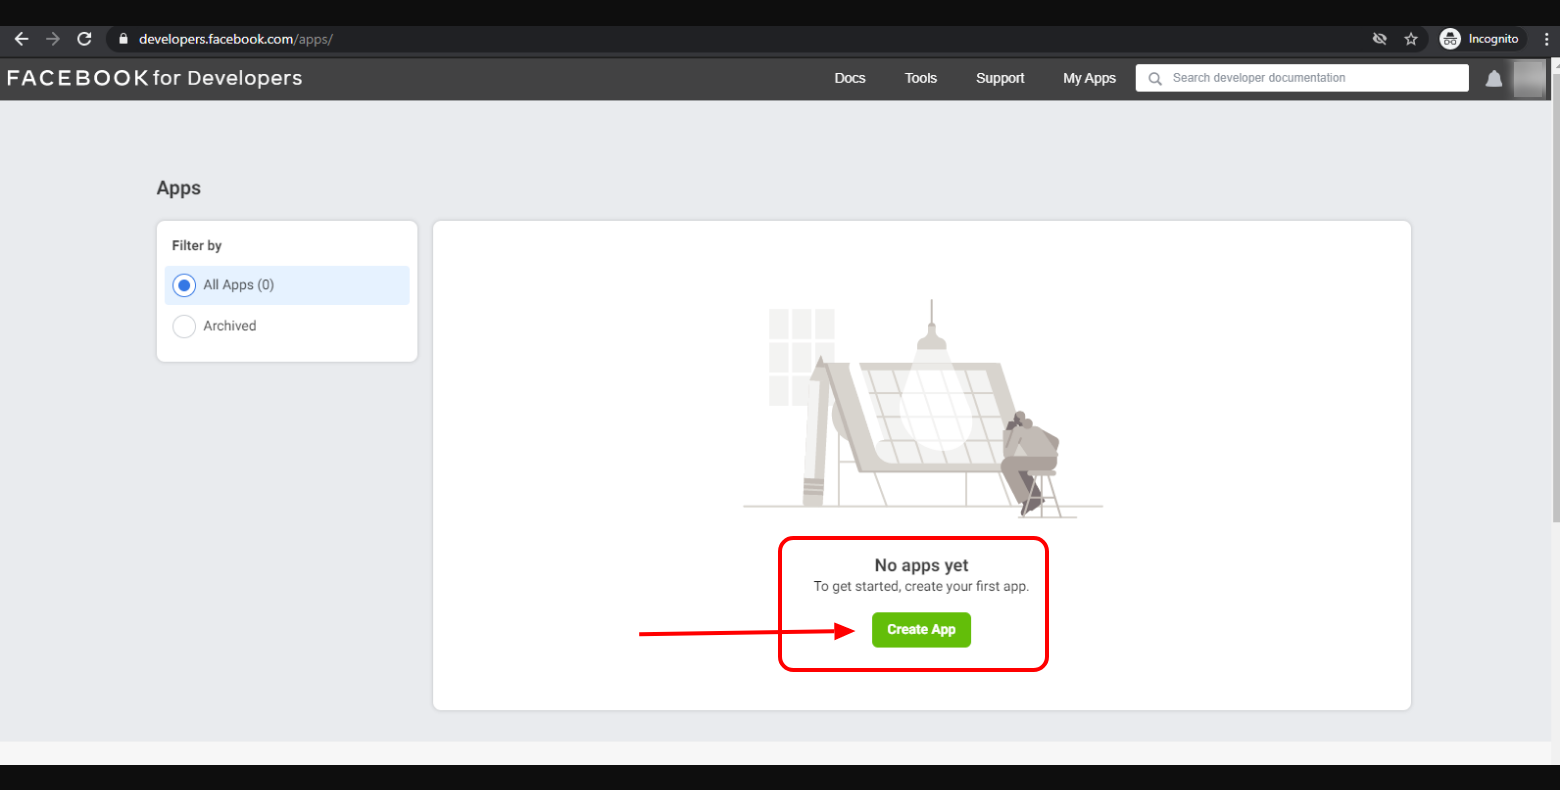
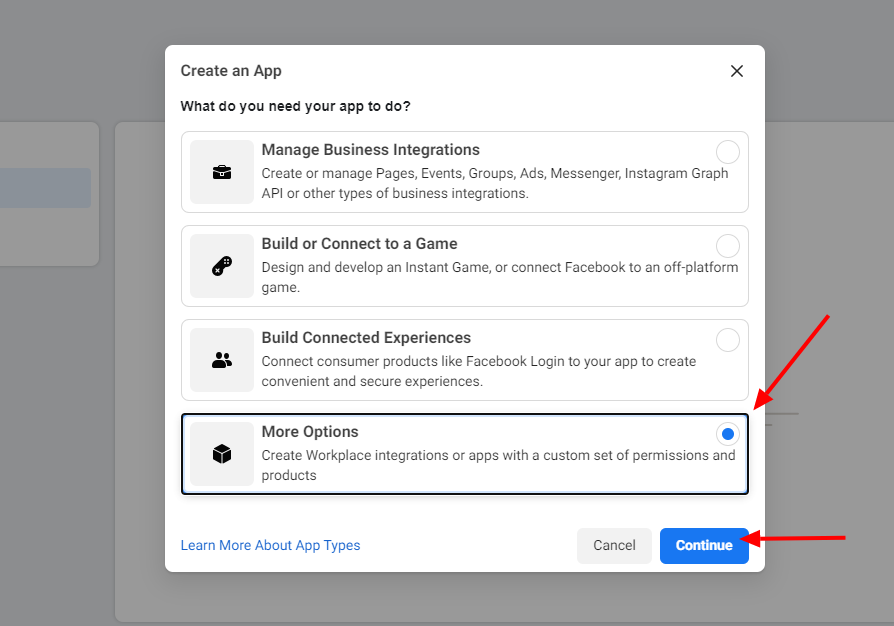
Add a New App. Clicking the Create App button will trigger a modal window where you will need to specify what exactly should your app do.
First select More Options .
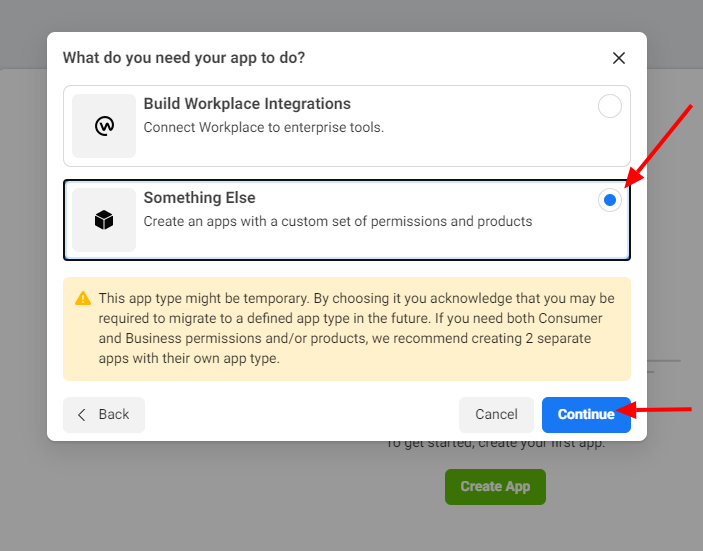
Then choose Something Else in order to register an app with a custom permissions set.
Register New App
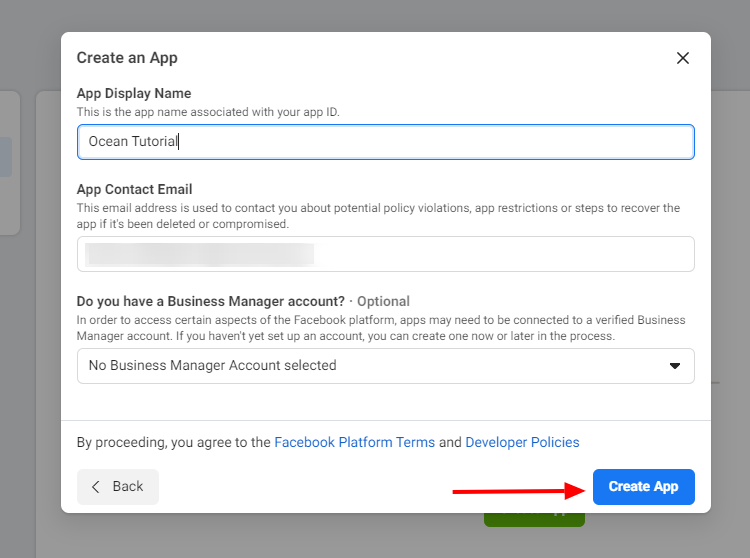
Adding an app will open a pop-up window where you need to insert:
Note: You may be prompted to go through a "I'm not a robot" and reCaptcha security check.
Configure Instagram Basic Display
After you have successfully added a new app, you will be redirected to a new page where you need to configure Instagram Basic Display and also add a tester in order to generate your Access Token.
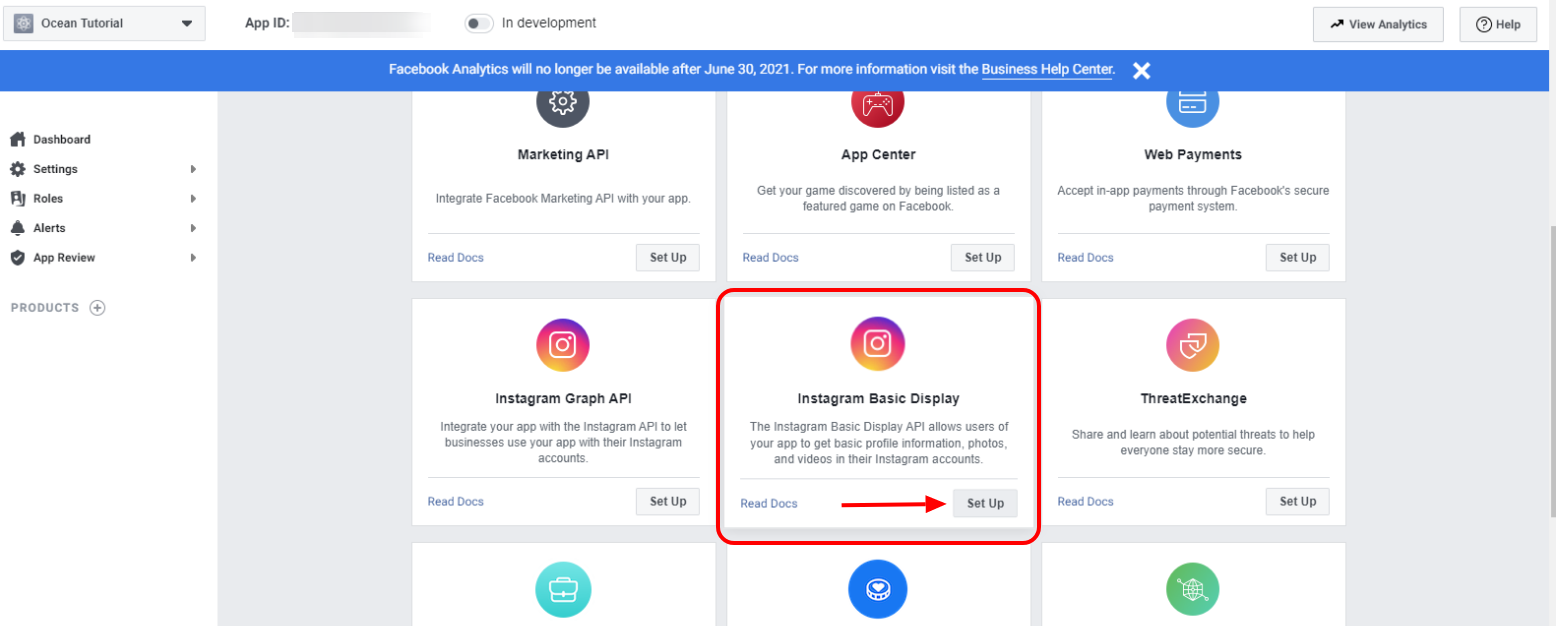
Click Set Up under the Instagram Basic Display
Note, you will see two different Instagram options. Choose Instagram Basic Display.
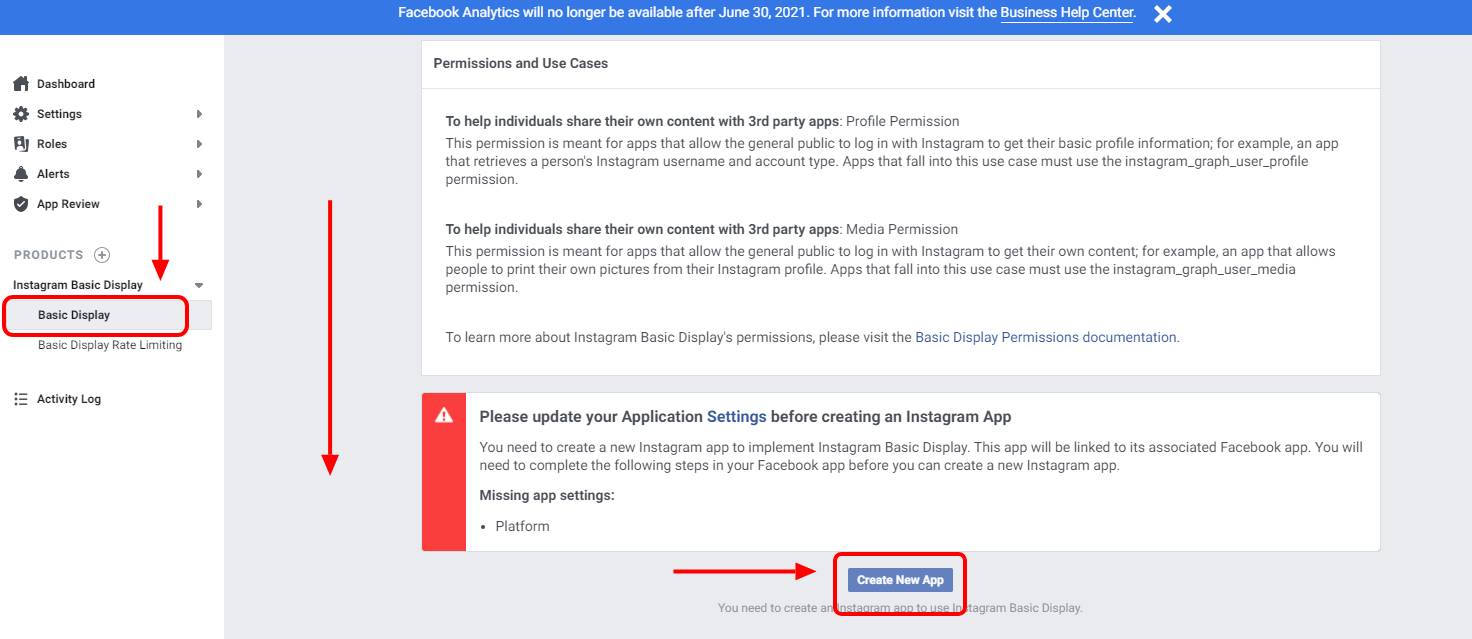
Navigate to the Basic Display and scroll to the very bottom of the page. Click the Create New App button
You will be redirected to Basic Display section automatically, but in case you wonder off go back to this section.
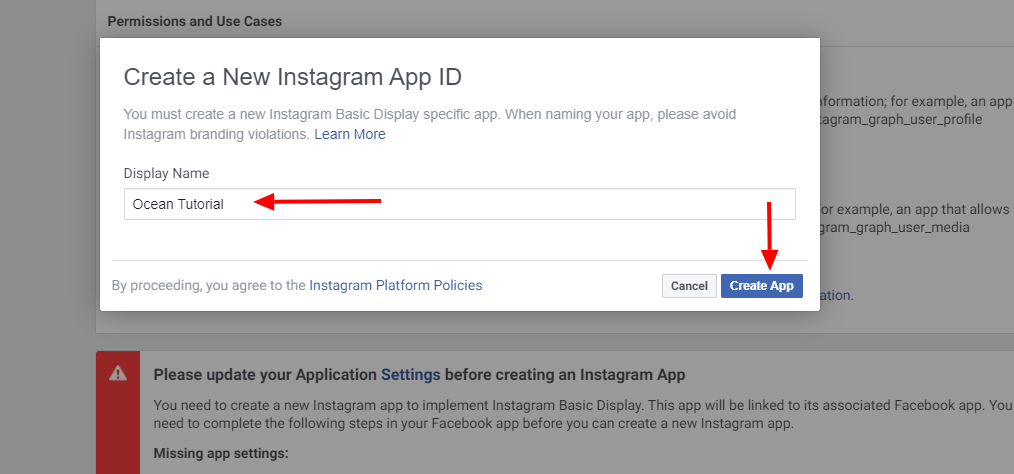
As the name of the App choose the name you created in Step 2
This name will be displayed automatically so do not change it.
Get the Access Token
This is the part where you need to add an Instagram Tester (test user) in order to generate an Access Token.
Navigate to the Basic Display section
After creating an app you will be automatically redirected to this section.
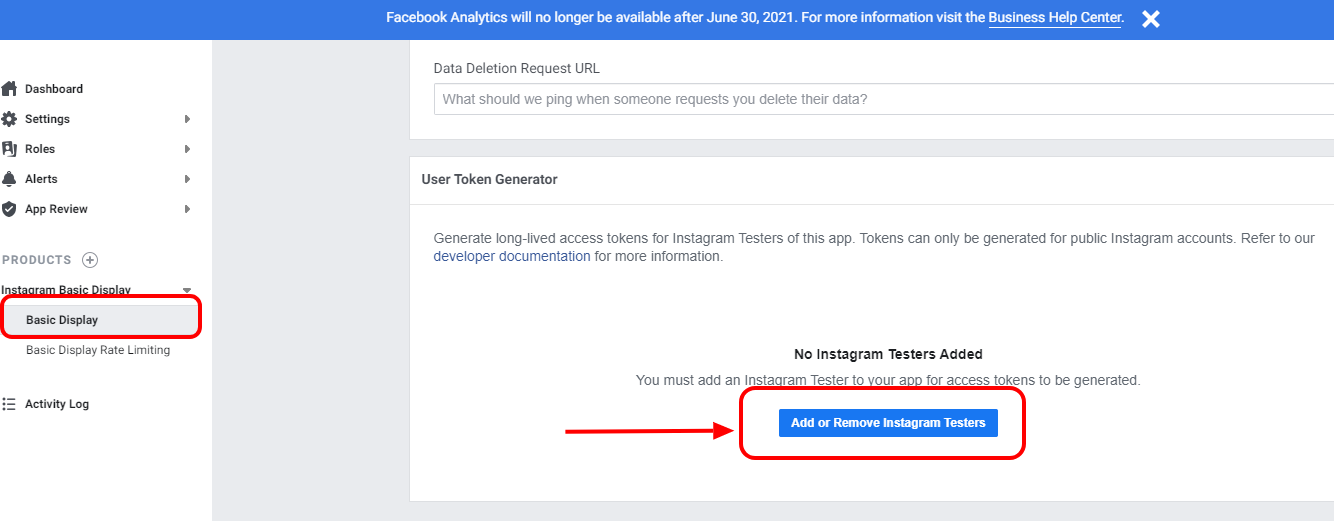
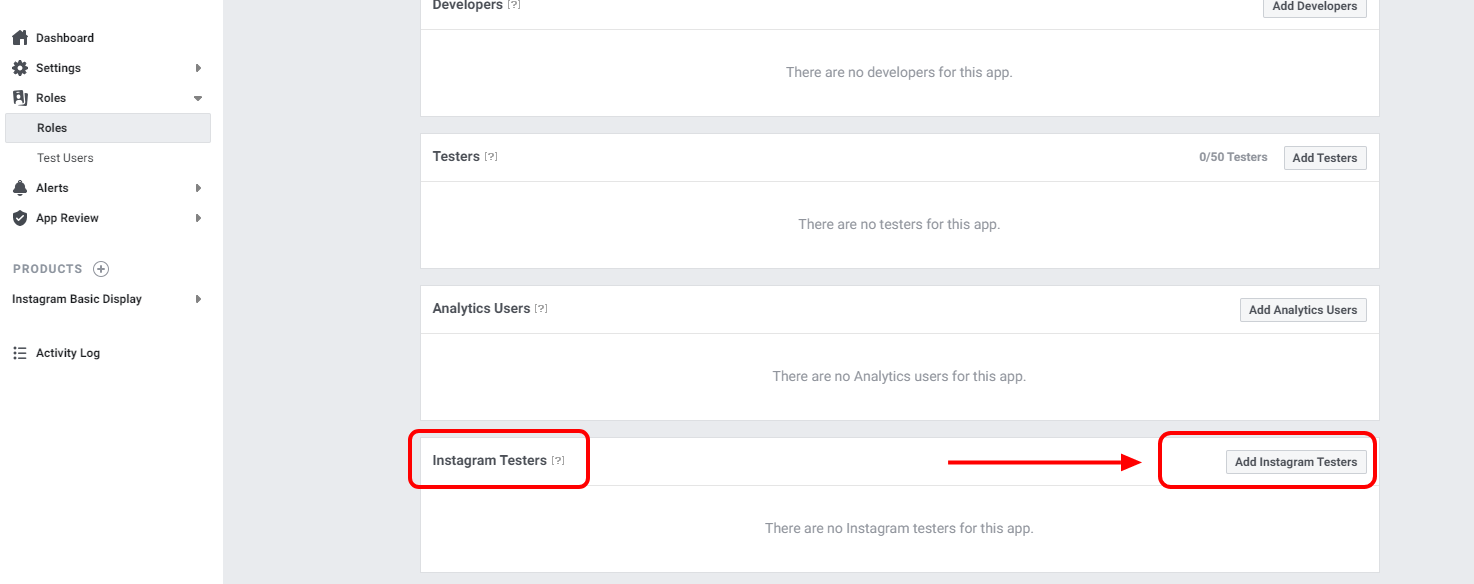
Find the Add or Remove Instagram Testers section and click the button
Note, there are two tester options, so make sure to add a tester to the Instagram Testersection.
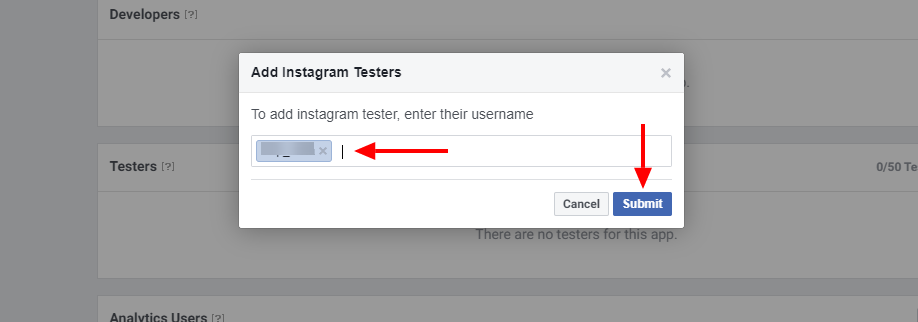
Add the Instagram User ID (IG username) for the account you want to add as an Instagram Tester
When you add the IG username to the field, a dropdown menu with suggested IG users will appear so as to make sure you have entered correct details.
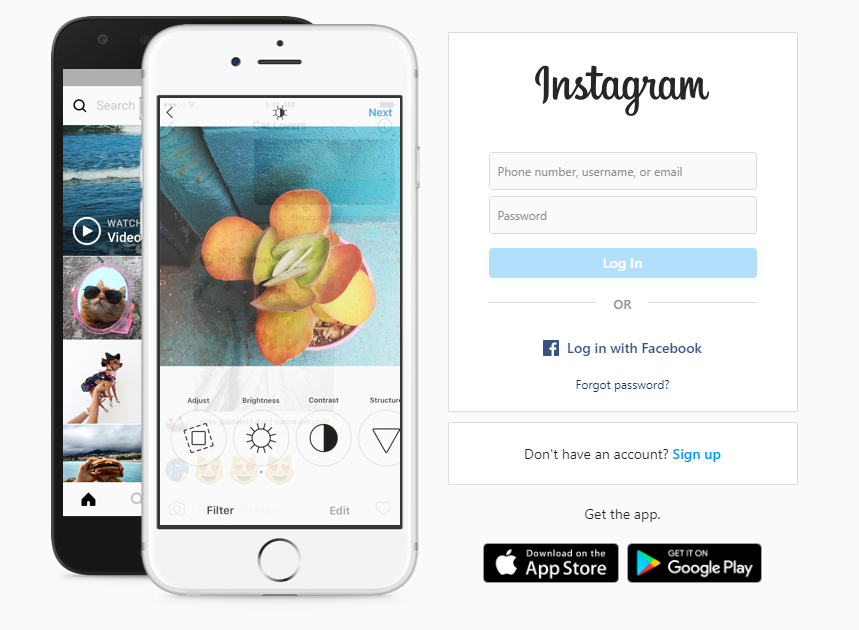
Log into the Instagram account of the username you added as the Instagram Tester
Log into your Instagram account here.
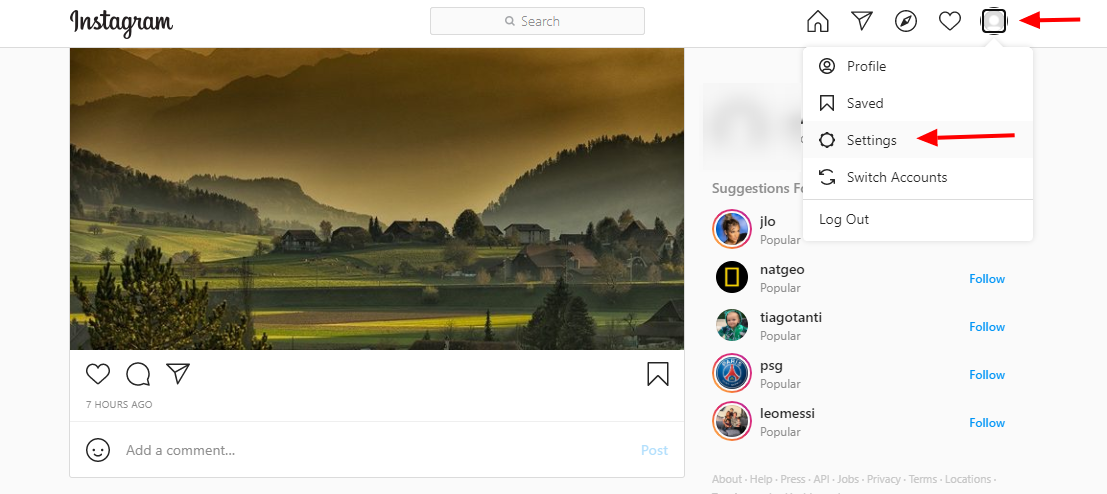
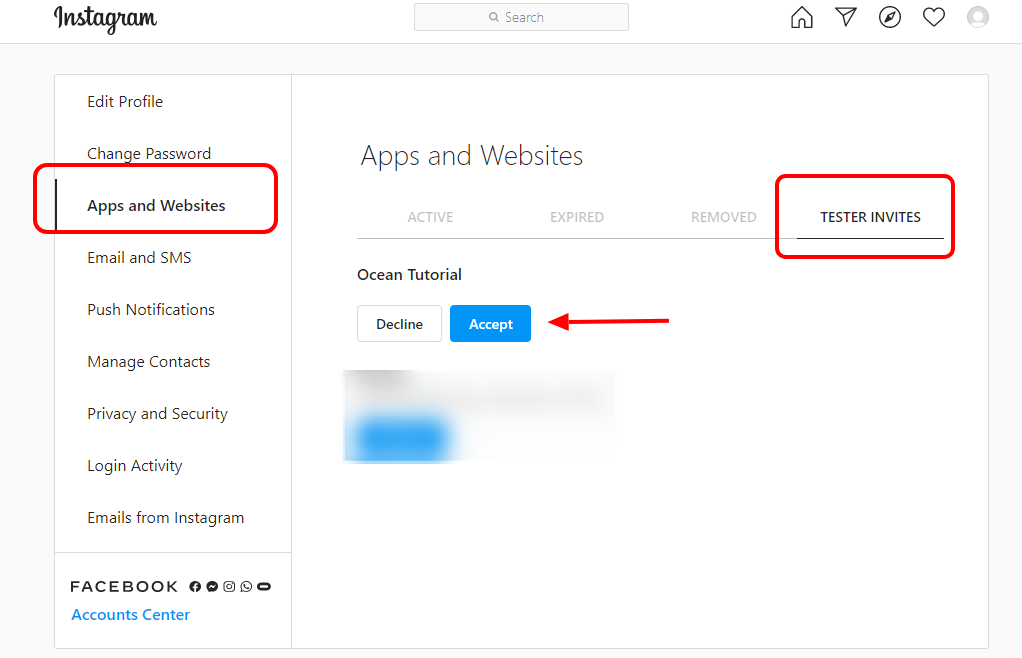
Navigate to Settings > Apps and Websites, and click on the Tester Invites tab
Click Accept to approve the invitation
Now navigate back to the Facebook Developers dashboard
Find the app you created, then navigate to Basic Display
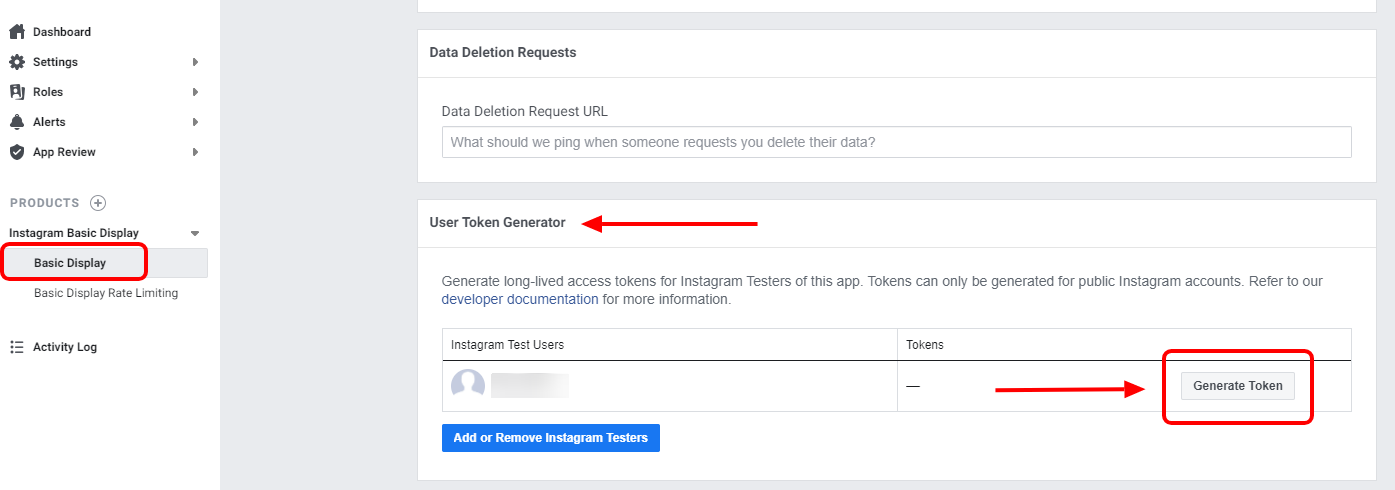
Scroll to the User Token Generator Section and click the Generate Token button
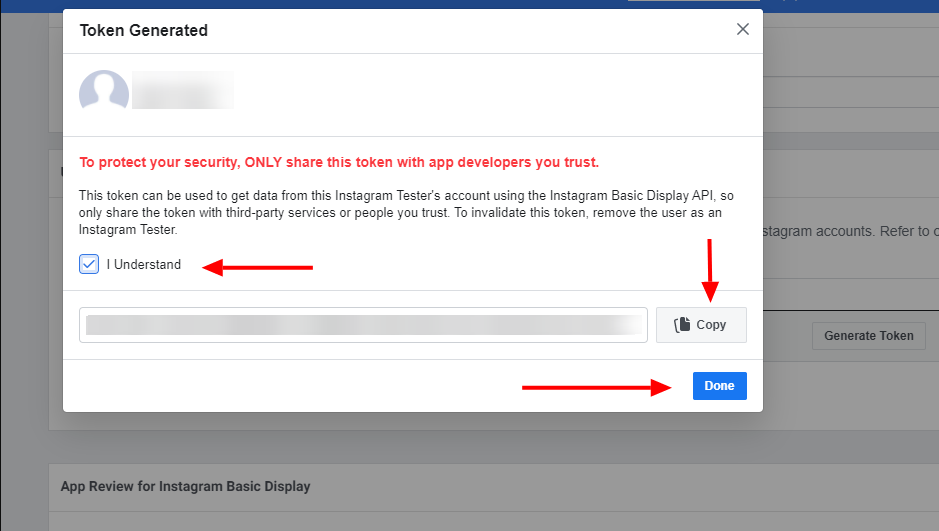
Note, you may need to re-login to the Instagram account again in order to allow specific permissions before the token is being generated.
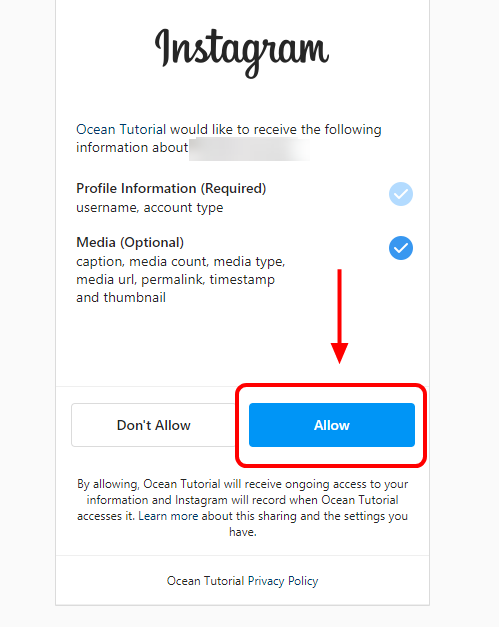
Copy the Access Token from the pop-up window
Go to your Yourstore Dashboard and Go to Website → Home Page
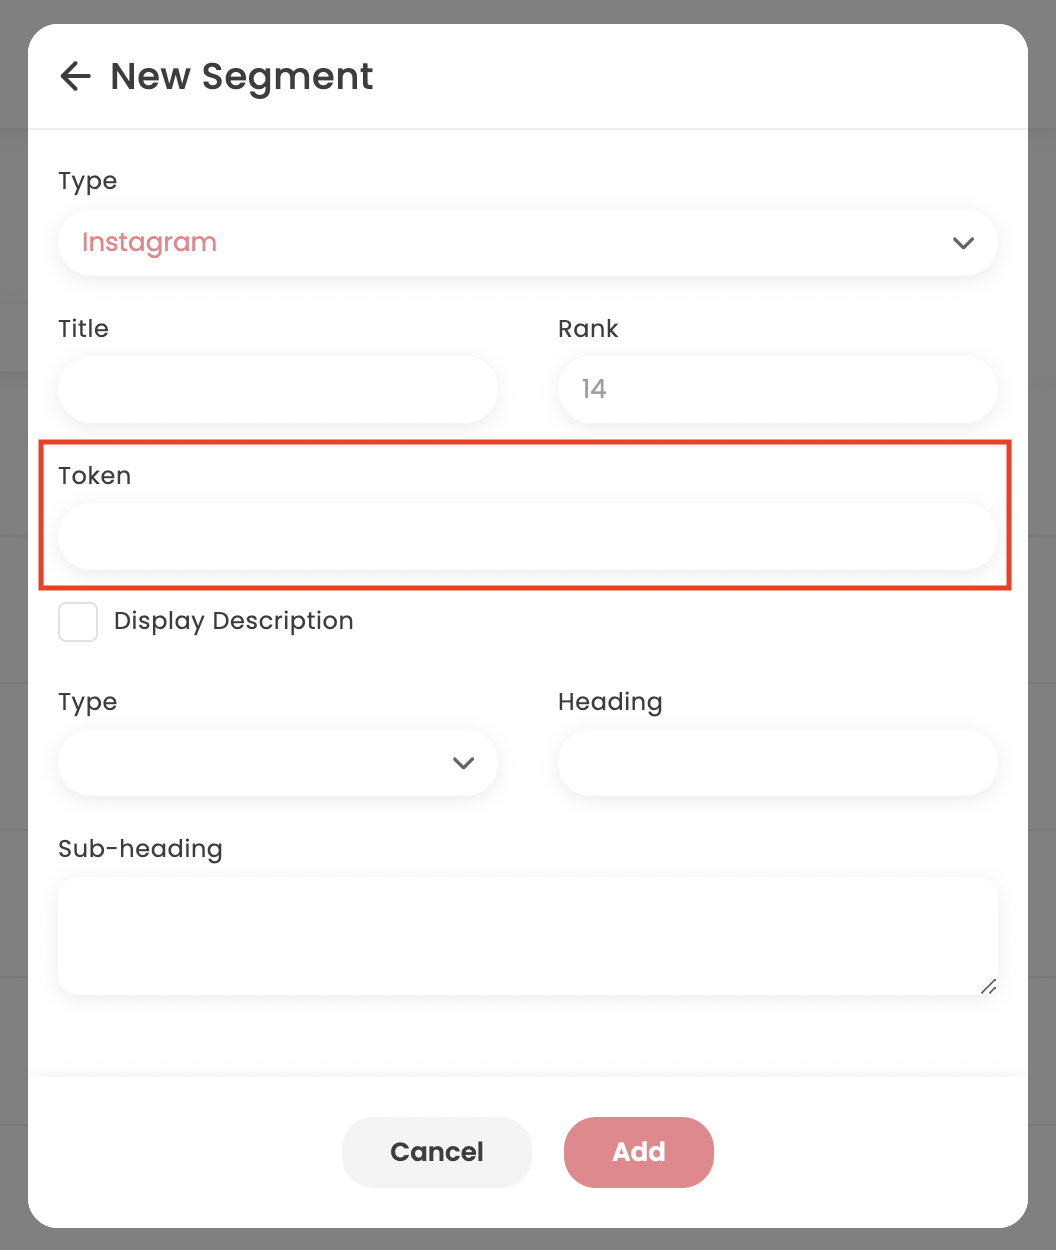
Click the “Add Segment” button and select Instagram
Use the Rank to set the position this Instagram segment appears on the website
In the field Token paste the Access token copied
If you want to display the description of the post enable the Display Description check box
Now you are ready to display your Instagram Feed on your website!